Deploying Rental Application to Azure Container Instances (ACI)
Deploying Rental Application to Azure Container Instances (ACI)
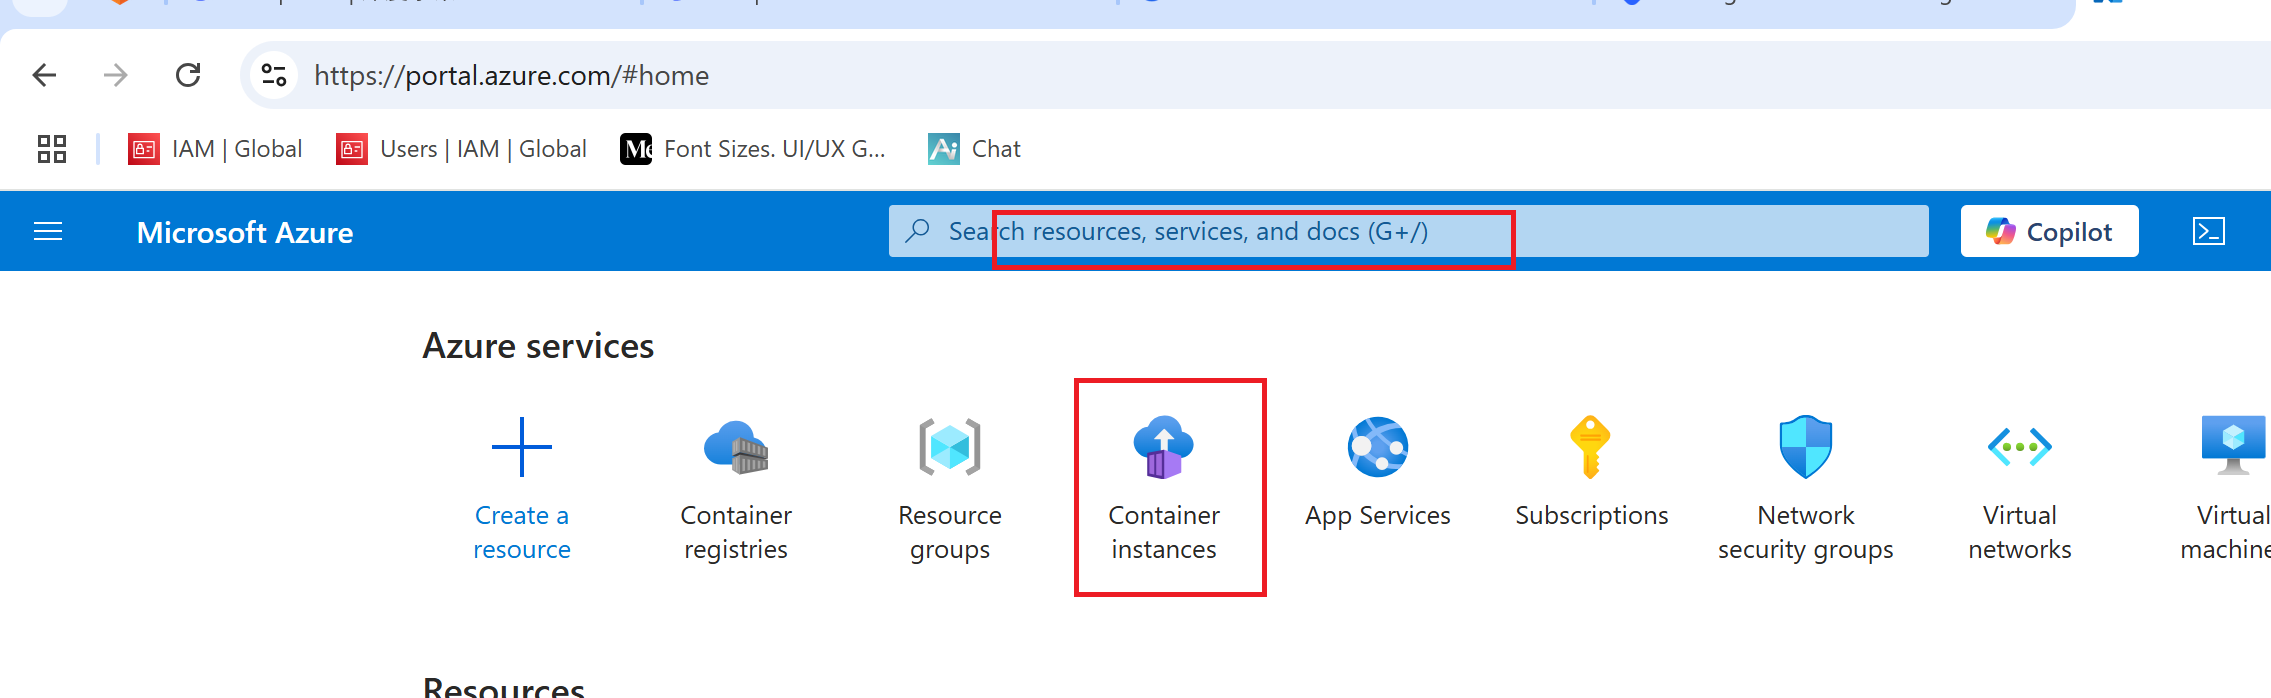
To deploy rental Application to Azure container instance we need to Login into our Azure account and navigate to our search box type “container instance” to create Azure container instance.
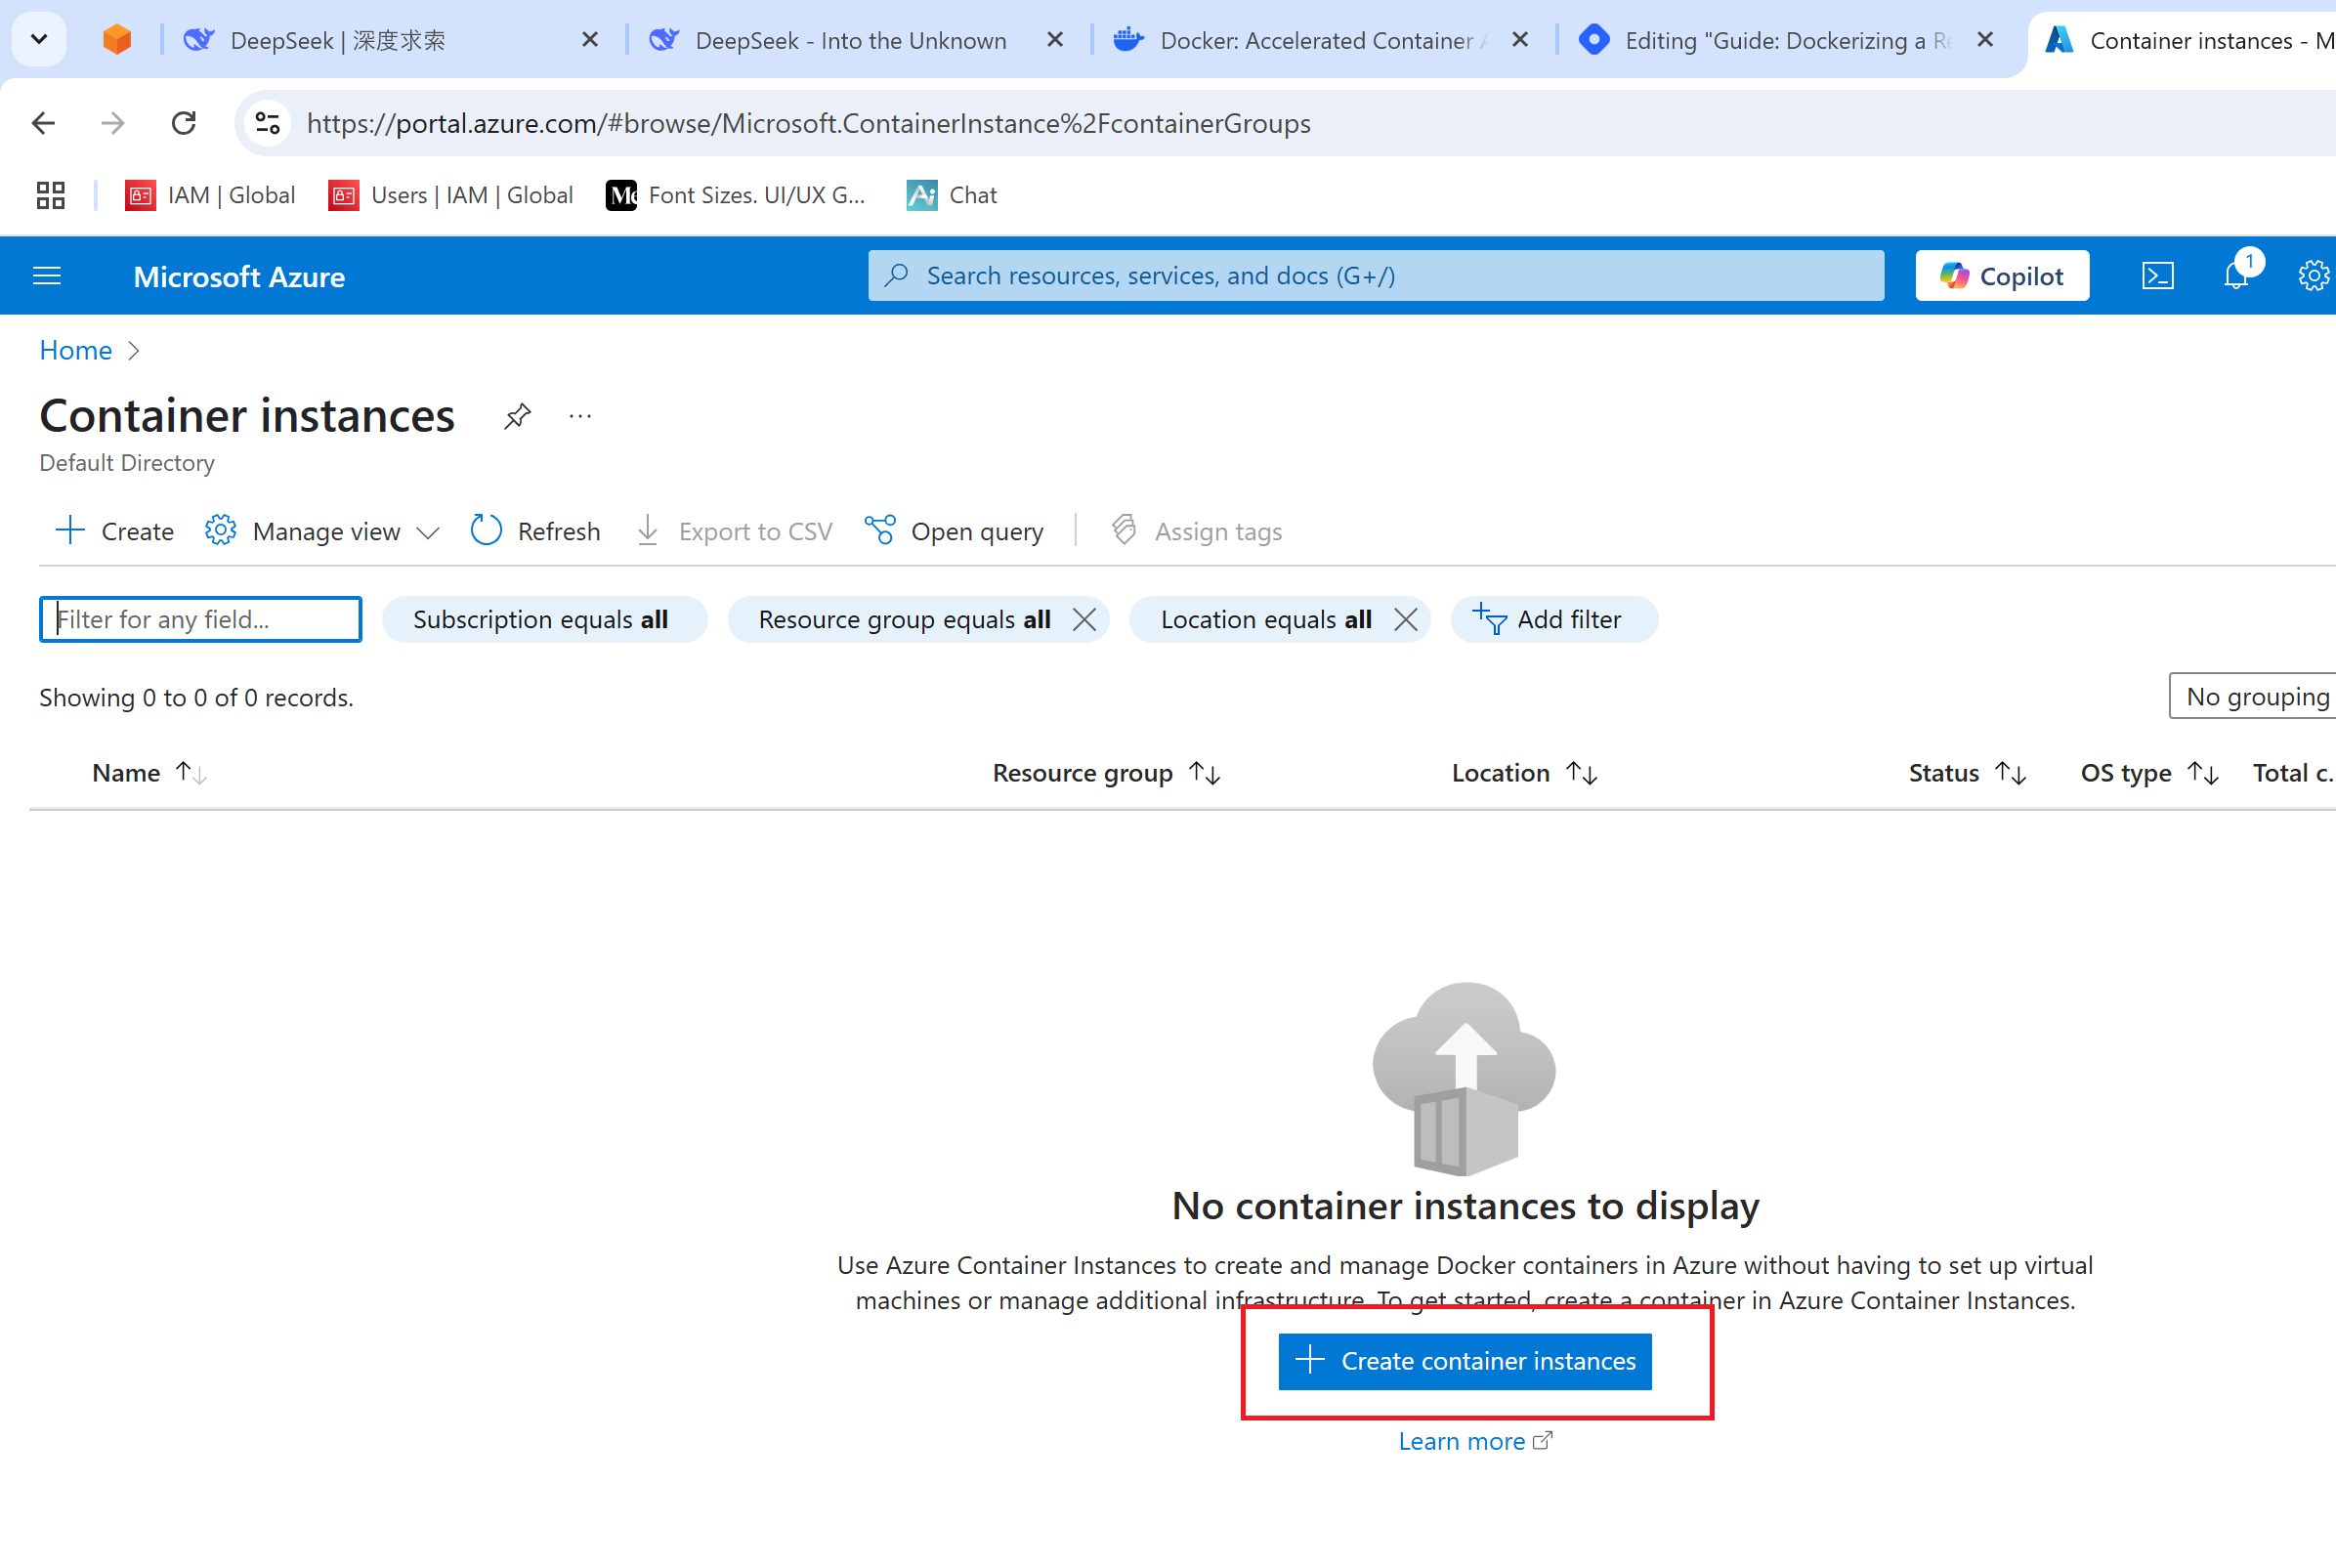
Create container instance
Click on the Create container instances button
Create Container instance
select Subscription and resource group, Name your container (mycontainer), select image source Azure Container Registry, select image and image tag.
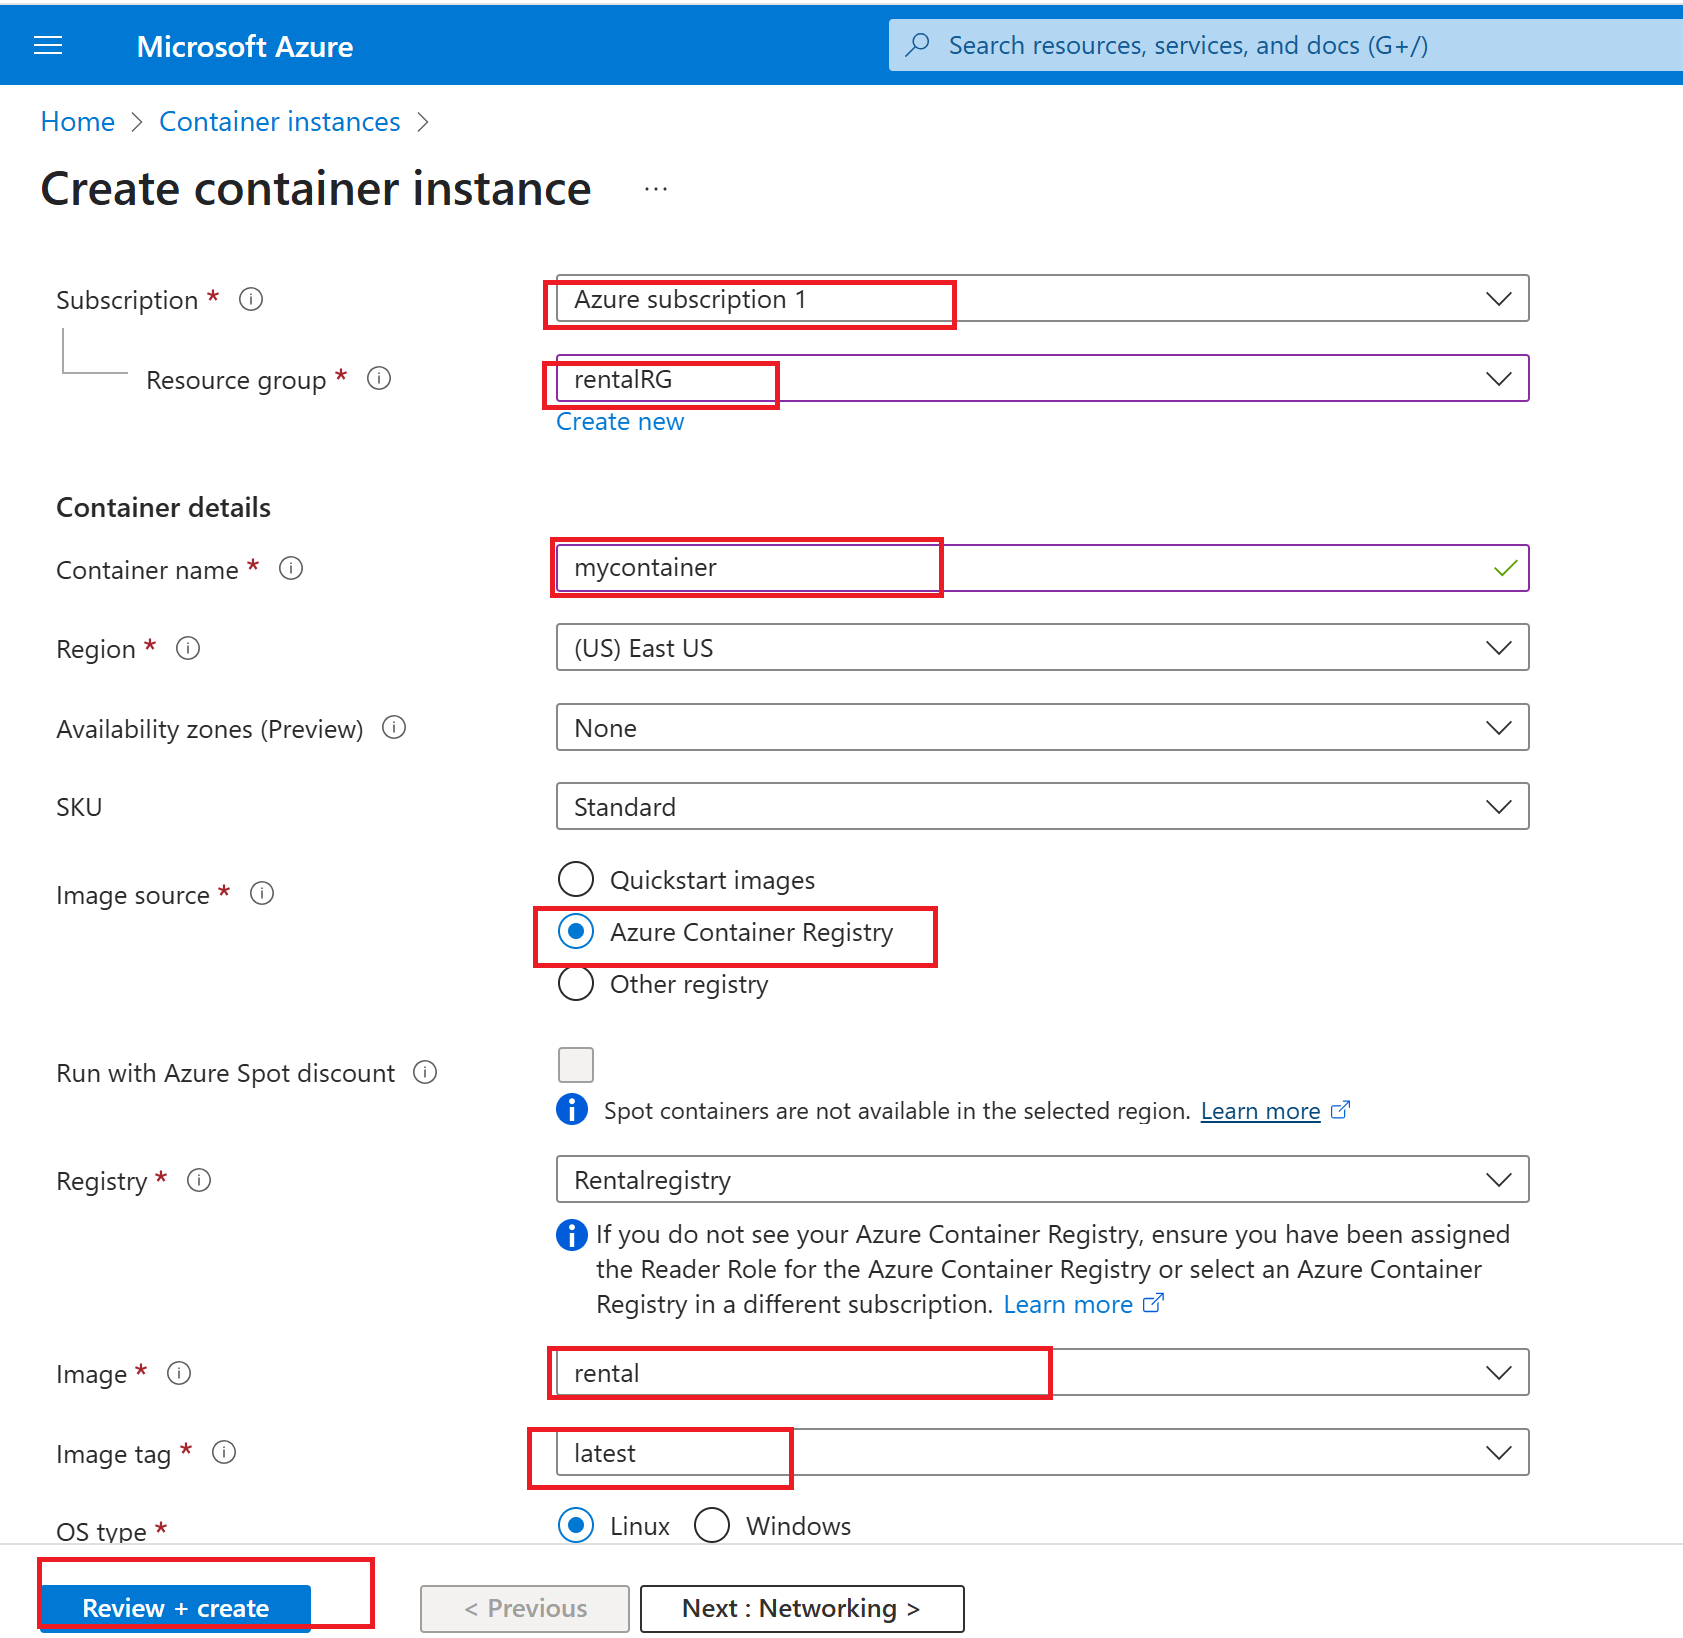
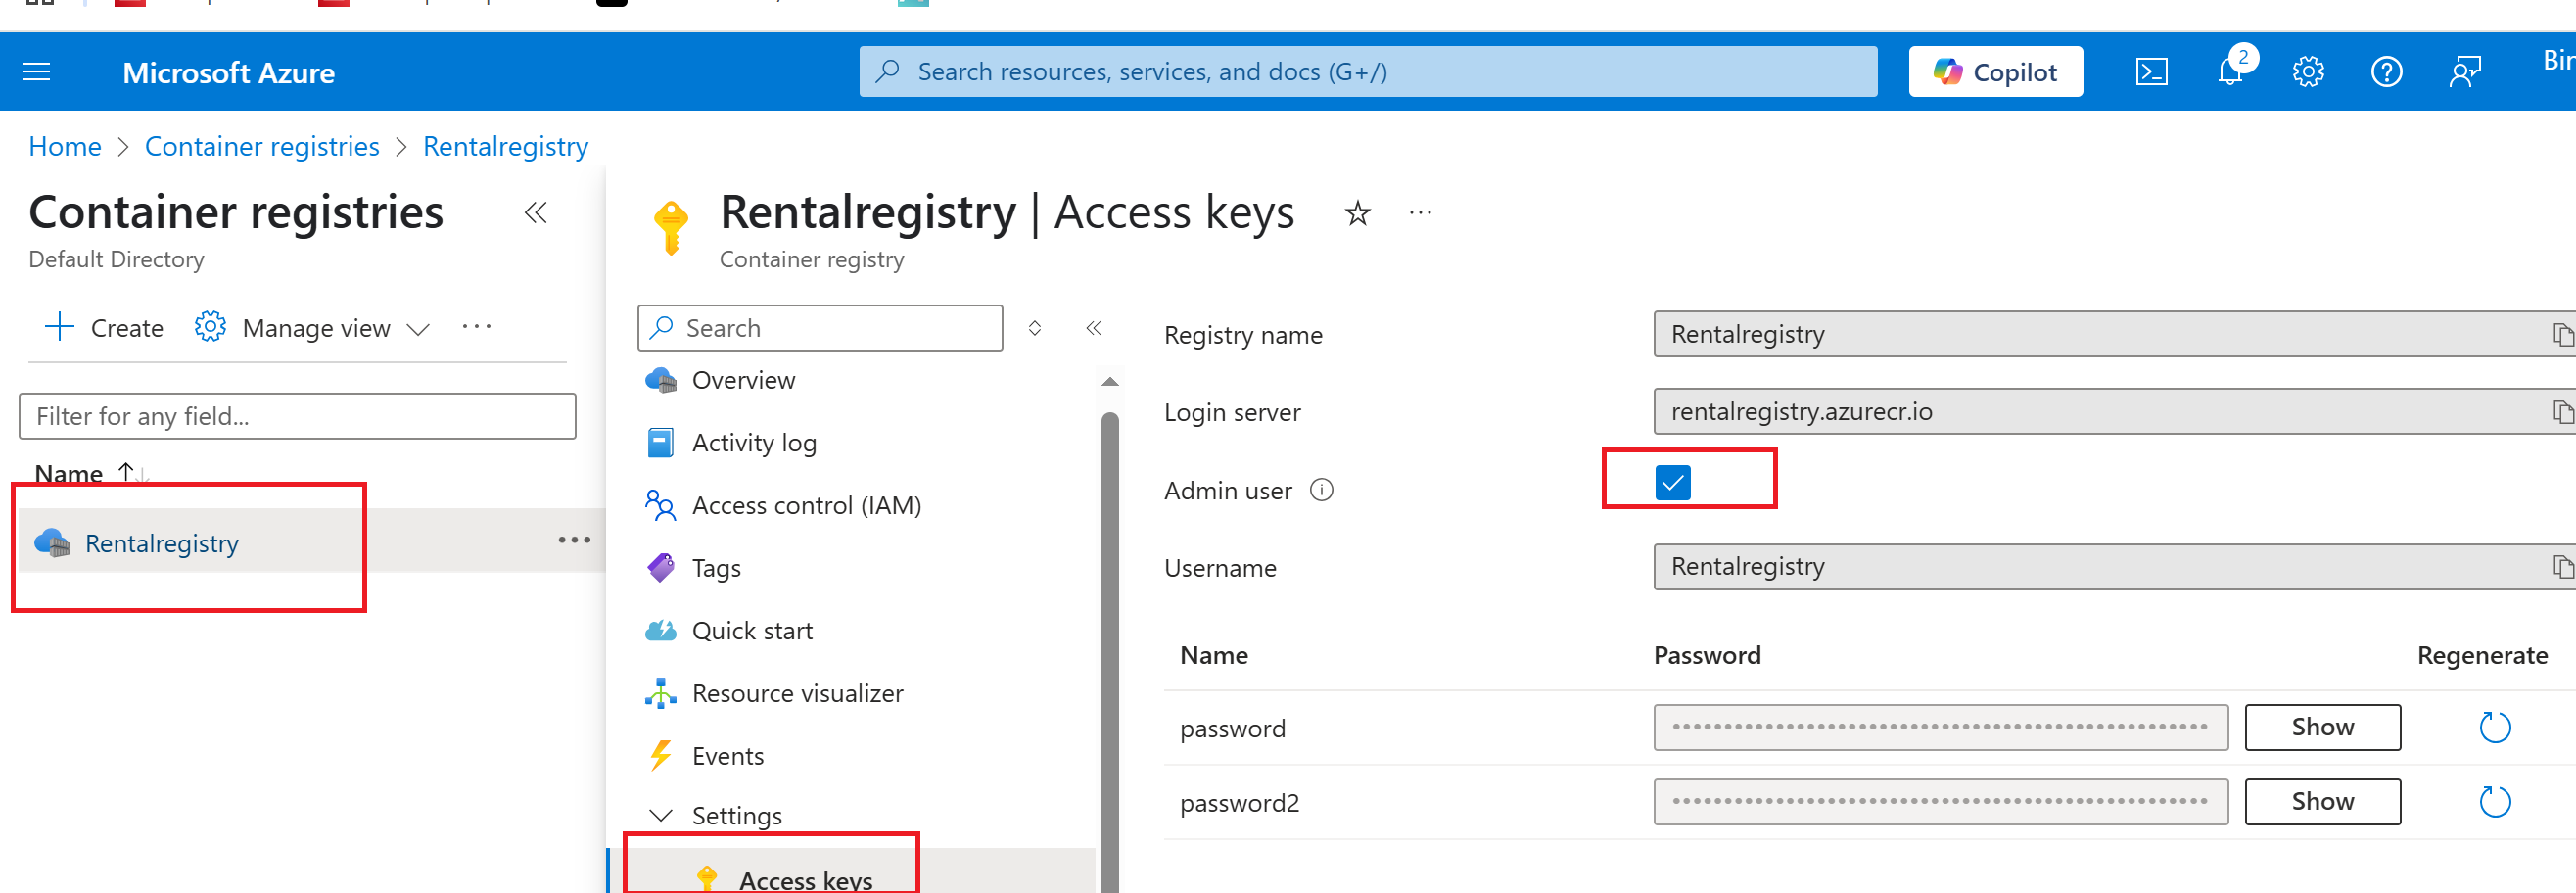
Note when you select Azure container registry as the image source you will get an error message, to fix this error you need to enable administrator access so that the container instance can access the Container registry.
To enable admin access
Navigate to Container Registry, Click on Rentalregistry, Click on Settings then Access keys and check the Admin user box then proceed to create your container instance.
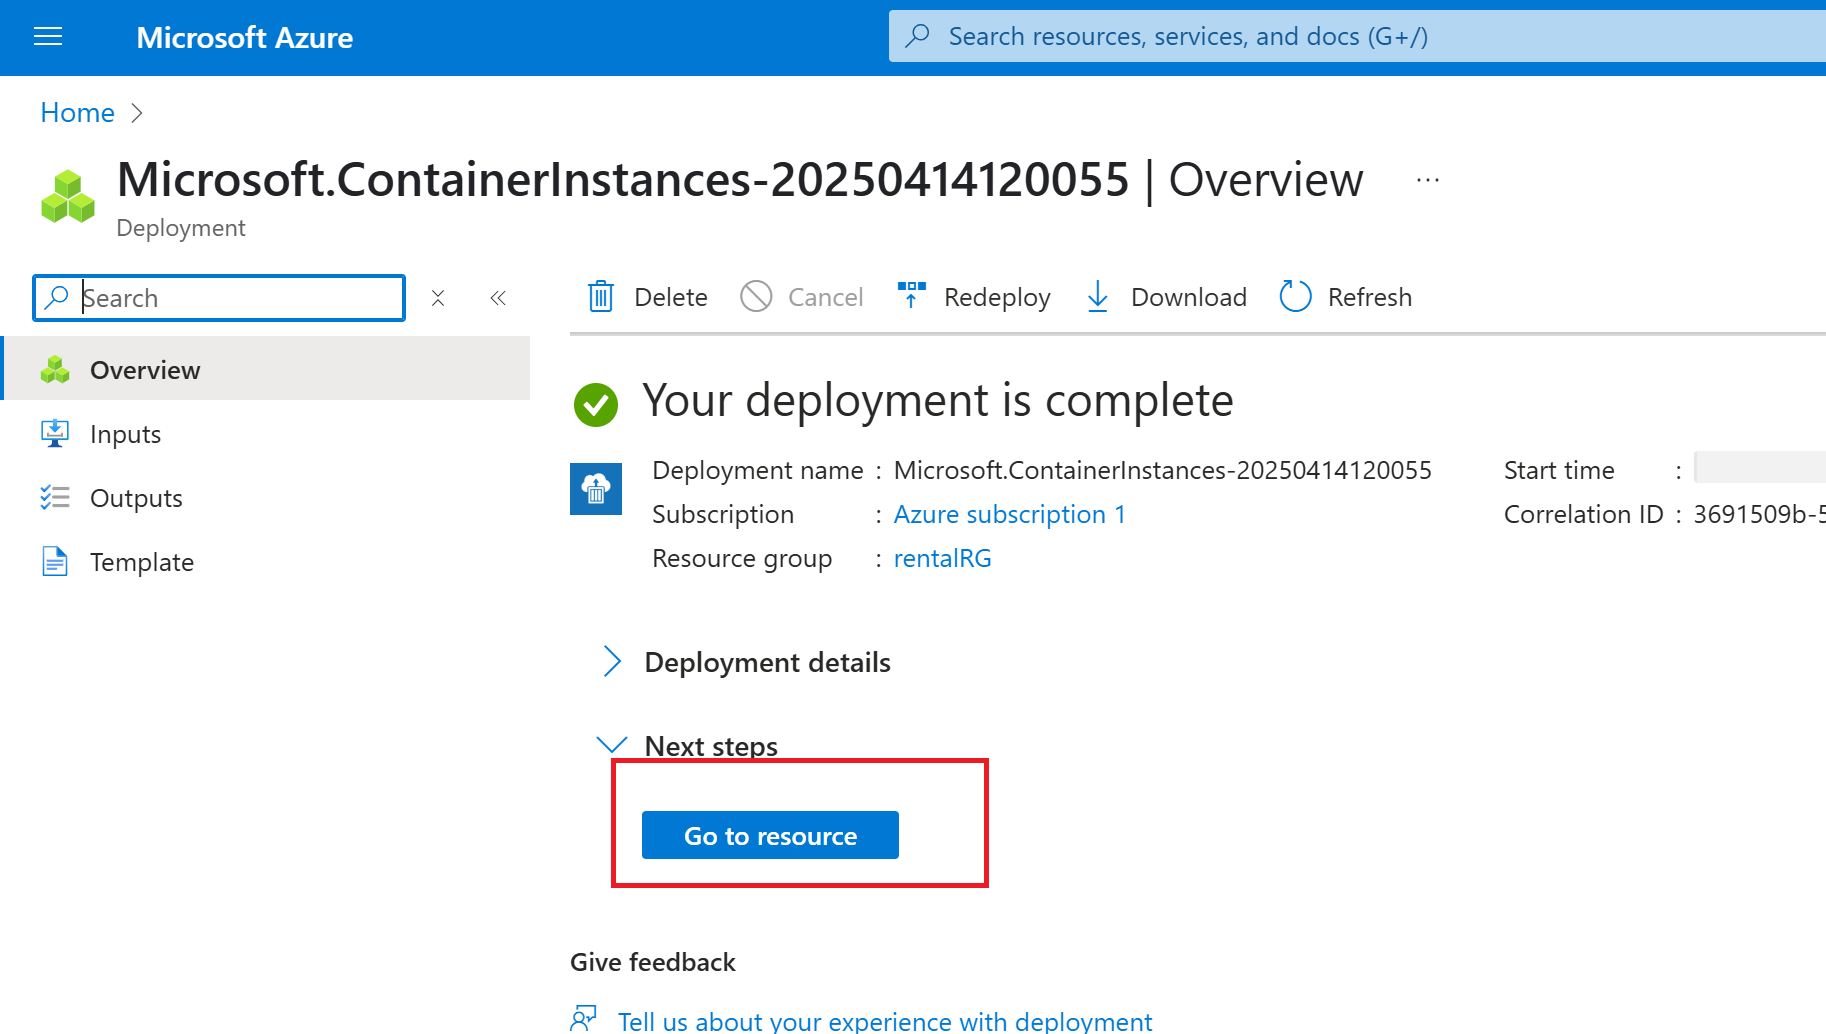
Container instance created successfully.
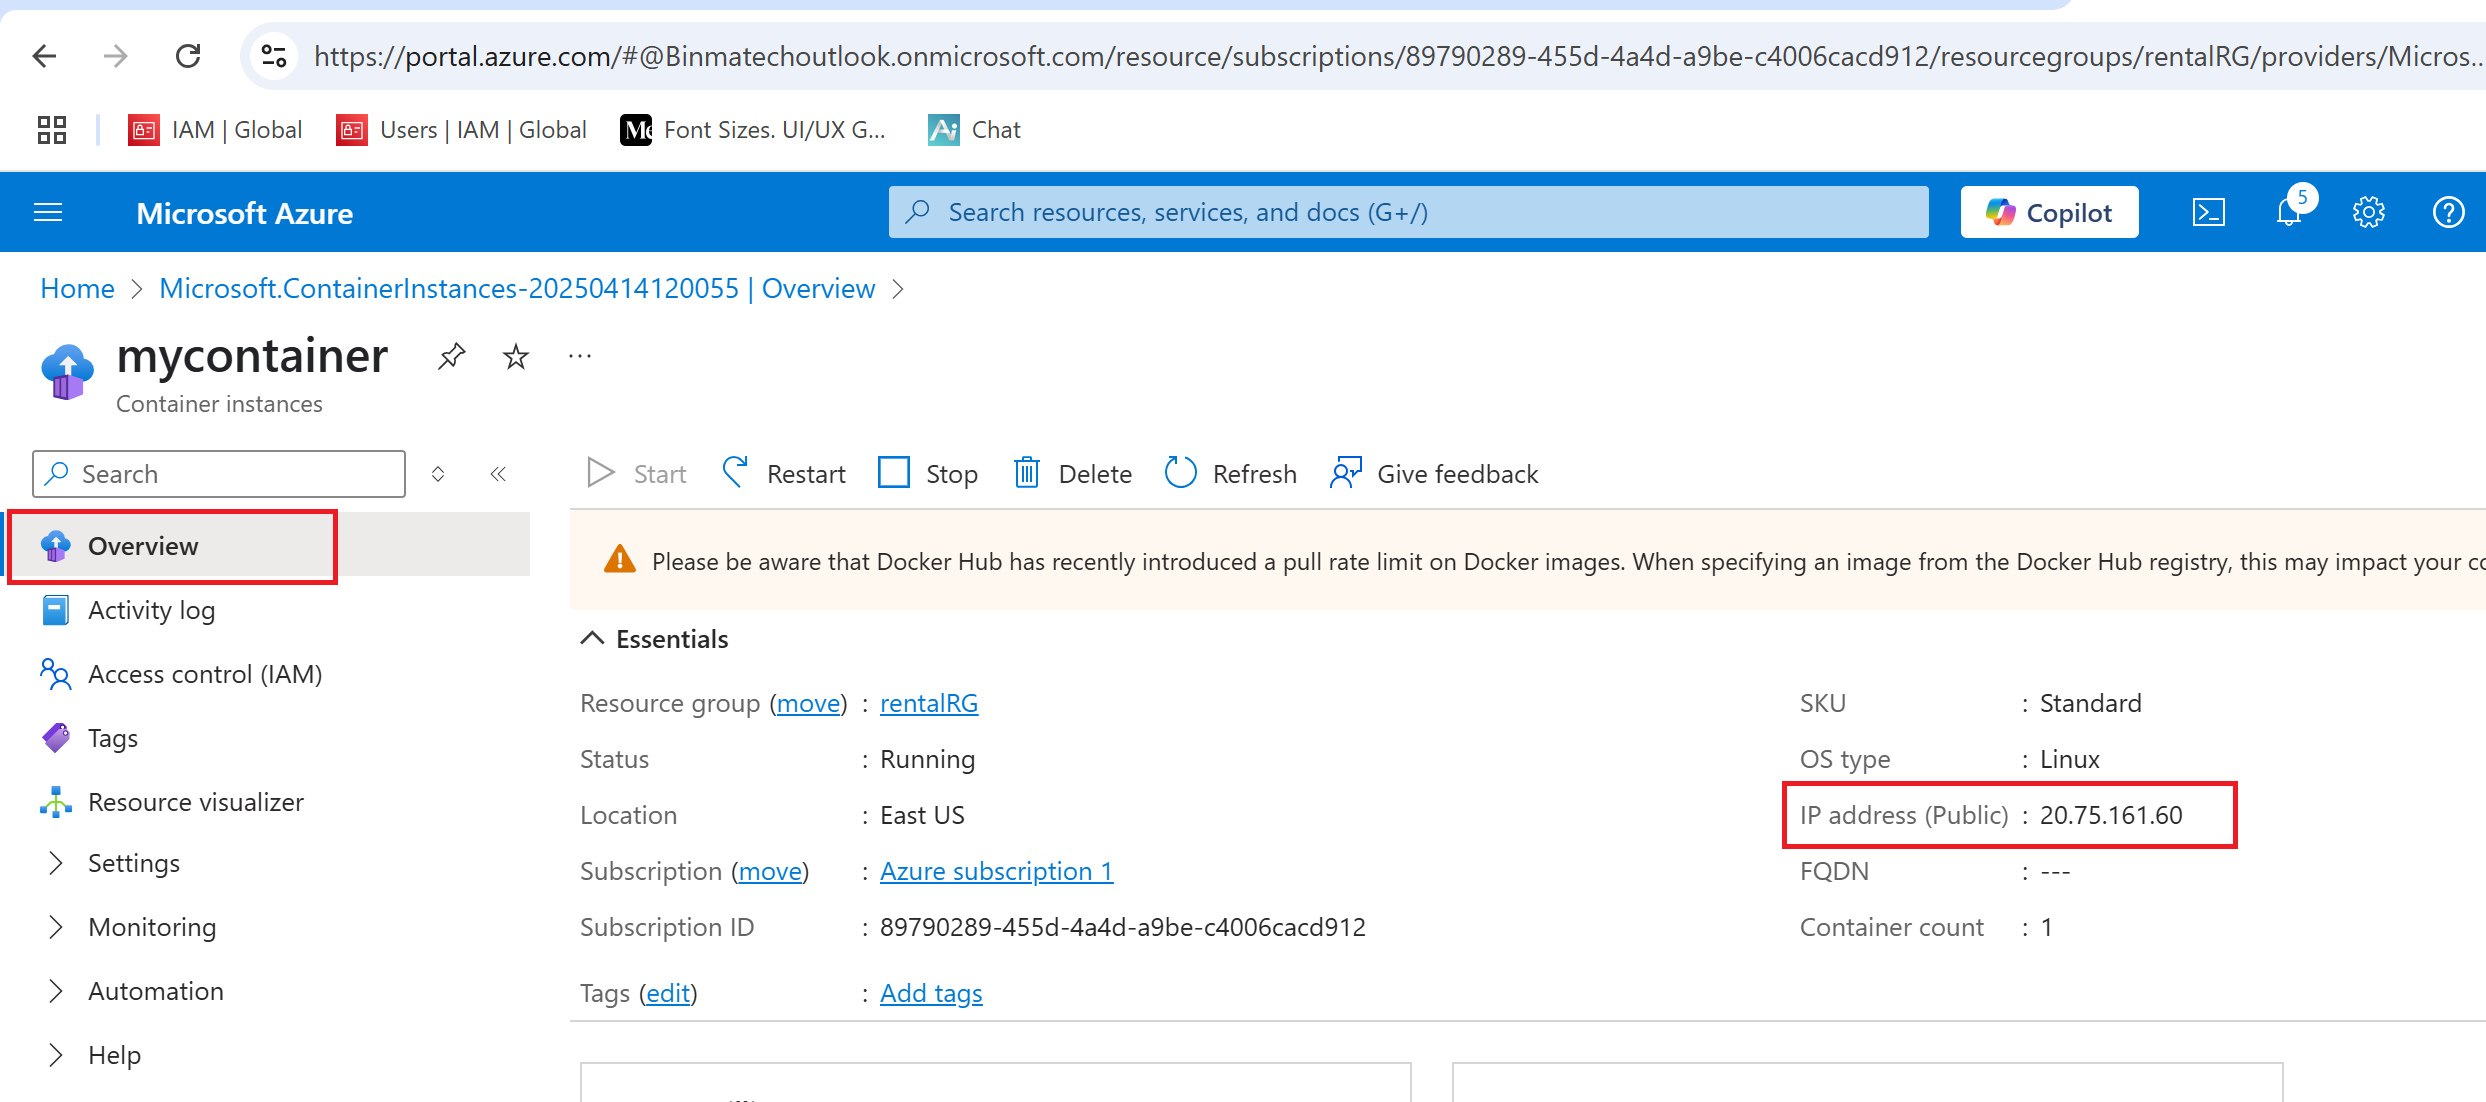
Now that we have created our container instance Click on Go to resource button to view our container instance.
Copy the public IP address in the overview tab and paste on a browser to view our rental application.